Creating a Bootable USB Drive with Rufus
Getting Started with Rufus: A Simple Guide to Bootable USB Drives 🔑💻
If you've ever needed to install or repair an operating system, a bootable USB drive is an absolute game-changer! With Rufus, creating a bootable USB is super easy and quick. Whether you're looking to test a new OS or recover a broken system, this guide will help you make the most of it. Let’s dive in! 😎
What You’ll Need 📝
Before we begin, grab the following essentials:
- A USB drive (4 GB or more – make sure you back up your data because it’ll be erased!)
- A Windows or Linux computer
- The ISO image of the OS you want to install (e.g., Windows, Linux)
Step 1: Download Rufus 🚀
Head over to the official Rufus website to get the latest version of this tool. It's fast, reliable, and user-friendly! Trust us – you’ll love it.
Step 2: Prepare Your USB Drive 🧳
Ready to make your USB drive bootable? Here’s how:
- Plug in your USB drive.
- Open Rufus – the interface is clean and simple, so you won’t get lost!
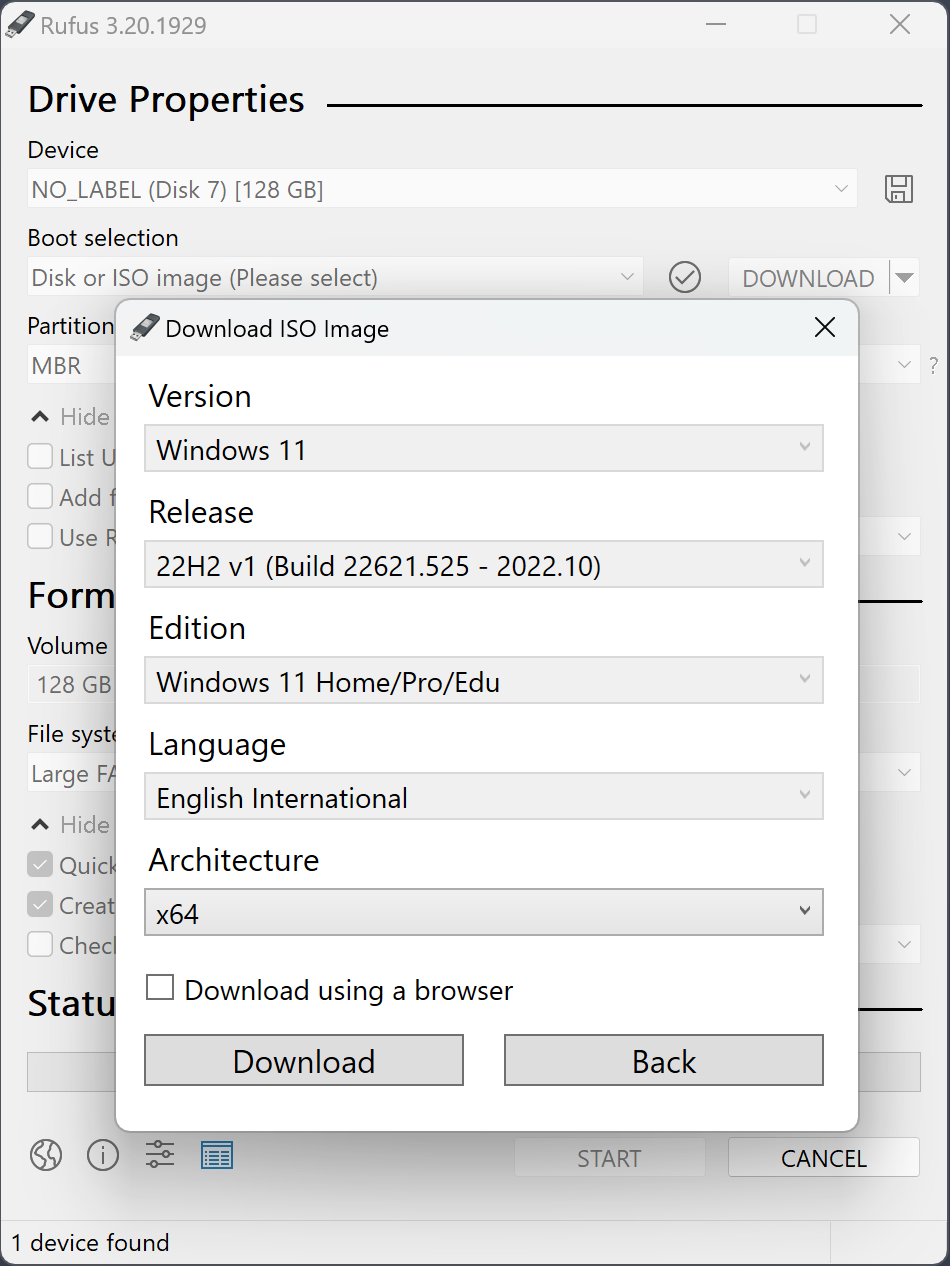
Step 3: Choose Your OS ISO File 📂
Now, it’s time to select the ISO file of the OS you want to install. If you don’t have it yet, you can usually find it on the official website of the OS (Windows, Linux, etc.).

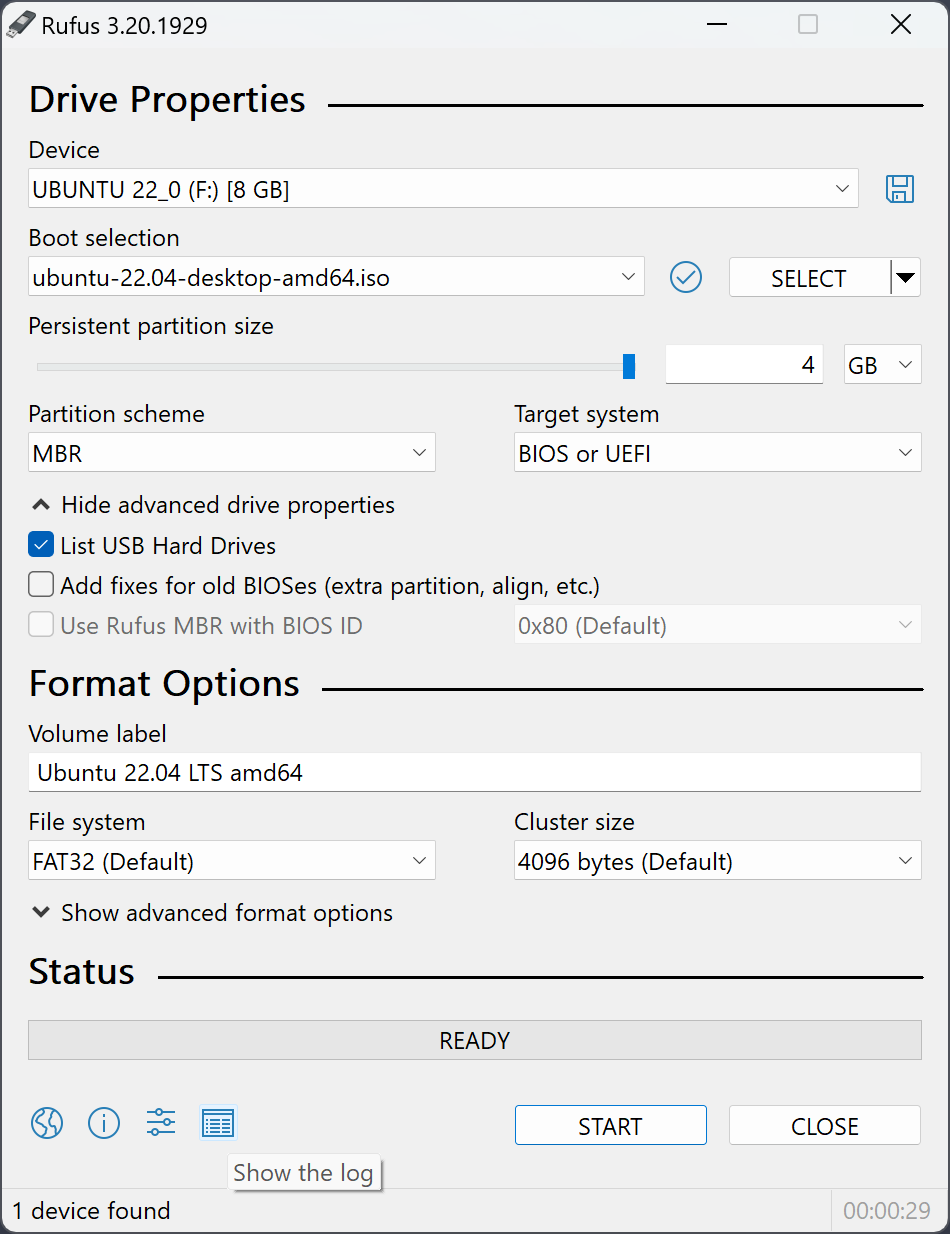
Step 4: Configure Rufus Settings ⚙️
Here are the settings you can customize in Rufus:
- Partition Scheme: Choose MBR or GPT depending on your system.
- File System: NTFS or FAT32? Choose based on your needs.
- Cluster Size: The default works for most – adjust only if needed!

Step 5: Create Your Bootable USB 🔨
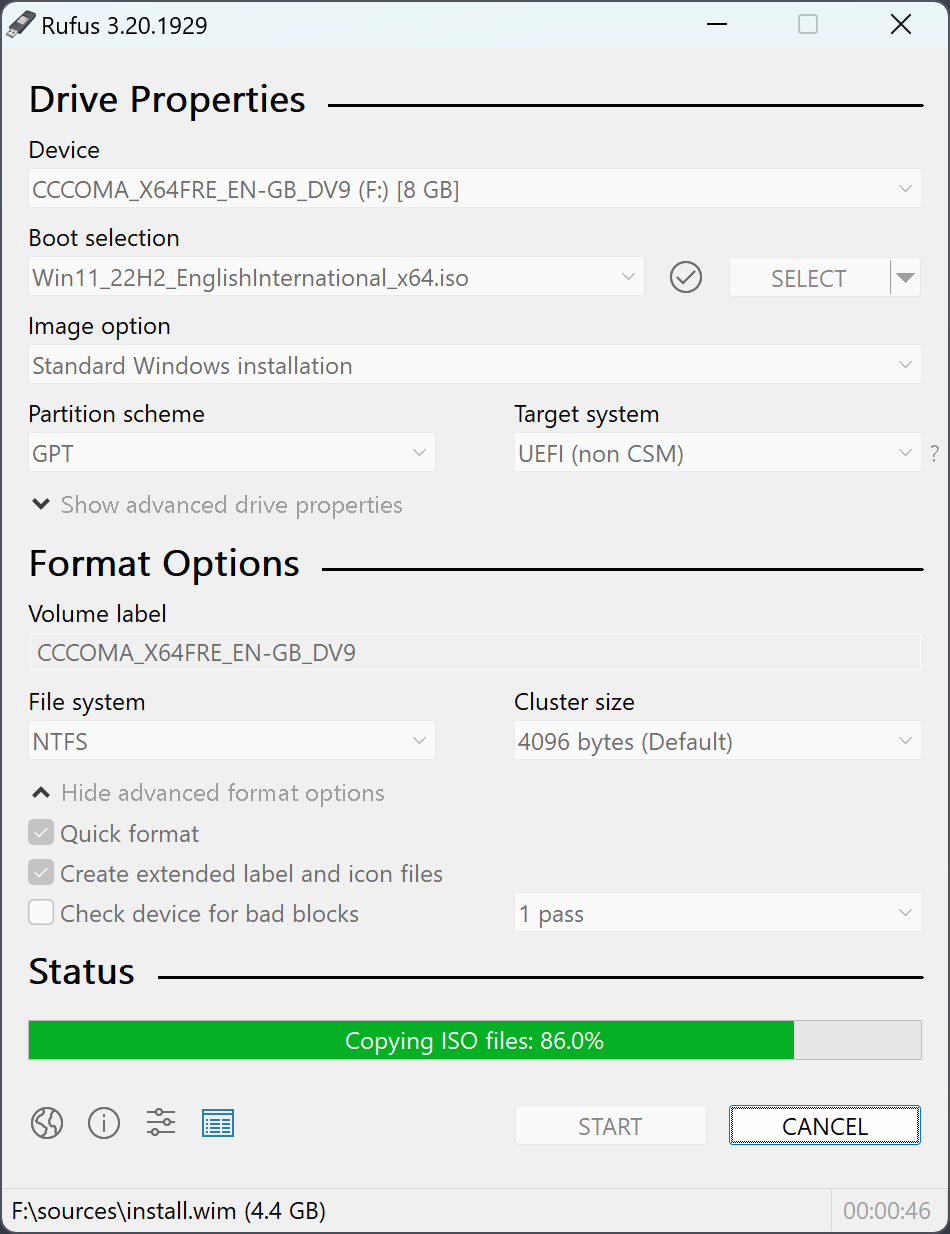
Double-check that you’ve selected the right USB drive (trust us, you don’t want to overwrite the wrong one!). Hit Start, and let Rufus work its magic. You’ll see a progress bar that shows how things are going.
Step 6: USB Drive Ready to Go! 🎉
Once Rufus finishes, your USB drive will be ready to use. Eject it safely from your computer, and it’s time to put it to the test!

Step 7: Boot From Your USB 💻
Now you can use your bootable USB for installing or repairing your OS. Here’s how to boot from it:
- Restart your computer.
- Press F2, DEL, or ESC to access BIOS/UEFI settings.
- Set your USB drive as the primary boot device.
- Save and restart. Your PC should now boot from the USB!
If something goes wrong, don’t worry! Just check your motherboard manual or the Rufus troubleshooting guide for tips.
Wrapping It Up 🎁
And that’s it! Creating a bootable USB drive with Rufus is super straightforward, and it opens up tons of possibilities for installing, repairing, and testing different operating systems. Follow this guide, and you’ll be a pro in no time. 😄
Ready to create your own bootable USB? Start today, and let us know how it goes in the comments! Don’t forget to share your experiences and tips with the NexBlog community – we’re all in this together. 🚀